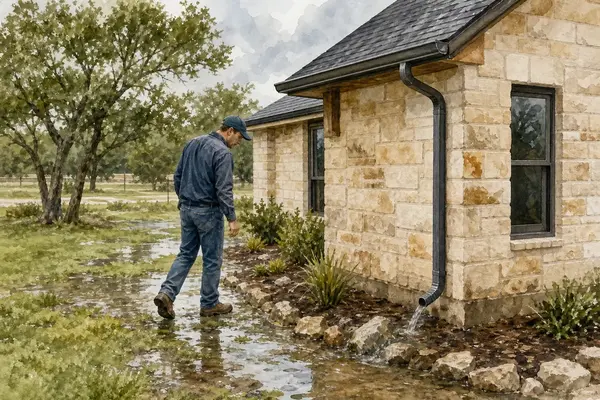
How to Assess Roof Condition When Buying a Home
When you're buying a home in Austin, knowing how to assess roof condition when buying a home can help you spot concerns before you commit. I’m Robbie English, REALTOR, and I recommend starting with records and a ground-level look, then getting a roofing specialist to check anything that raises concern.
An analysis of 35 YouTube comments about assessing roof condition when buying a home found that 60% mentioned inspector bias and incomplete inspections.
Too Long; Didn’t Read
- Start with the roof’s records: disclosures, permits, invoices, warranty papers, and past inspection reports.
- Look at the roof from the ground only, and photograph wear, missing pieces, sagging lines, and loose gutters.
- Check ceilings and the attic for stains, damp spots, and daylight through the roof boards.
- Ask a roofing specialist to confirm anything that raises concern and put the findings in writing.
- Fit the findings into your budget and your Texas contract deadlines before you decide.
Step 1: Start With the Roof’s Age, Material, and Overall Shape
First, ask the seller when the roof was installed or last replaced. Look for the date in seller disclosures, permits, invoices, warranty papers, and past inspection reports. If those records don’t answer the question, treat the age as an estimate, not a fact. A vent boot or other roof part may have a date mark, but that doesn’t prove when the whole roof went on.
Age gives you a starting point. It doesn’t tell you by itself whether the roof needs work. Check records and visible wear, too.
Note the roof material, too. Asphalt shingles, tile, slate, and metal show wear in different ways, so don’t judge one by the signs you’d look for on another. The roof’s overall shape matters as well. From the ground, look along the ridge and roof edges for a dip, sag, or uneven line. Don’t climb a ladder or walk on the roof to get a better view.
In Austin and Central Texas, storms can make roof age and past repairs especially useful questions to ask. I also look at the roof as one part of the full home review, rather than treating an attractive exterior as proof of good condition.
By now, you should have a rough age, a material type, and a list of records to request. If the age is unclear or the roof looks worn, make that a point for the inspector to verify.
Step 2: Look for Material-Specific Damage From the Ground
Stand where you can see each side of the roof clearly. Use your phone’s zoom if you have it, and take photos from a safe spot. Don’t try to walk on the roof, lift shingles, or mark suspected damage yourself. A visual check can help you describe what you see; it can’t confirm the cause or the full extent.
For asphalt shingles, look for missing pieces, cracked or curled edges, and areas where the surface looks bare or worn. Granules are the small, sand-like pieces on the shingle surface. A heavy scatter in a gutter or at a downspout can be a reason to ask for a closer look, especially if you also see shingle wear. Dark streaks or moss can be worth noting, but don’t treat one mark as proof of a roof failure.
Tile or slate roofs may have cracked or broken pieces. On a metal roof, look for rust spots, dents, or panels that appear loose. You don’t need to decide whether a mark is cosmetic or serious. Take a photo, note which roof side it’s on, and ask a qualified inspector to explain it.
To keep your notes useful, label each photo by the side of the house or the direction it faces. Then count only the damage you can clearly see from the ground. For example, write “two missing shingles on the front slope” rather than guessing at a repair scope. A roof specialist can check the full surface and document damage by slope.
In Austin, a hail mark on a soft-metal vent or flashing may also deserve an expert’s attention. Some roofers use chalk or other tools to map suspected impacts, but leave that hands-on check to them.
I’ve seen buyers focus on one obvious shingle and miss the pattern across the rest of the roof. A few isolated marks and widespread wear call for different follow-up.
By now, you should have photos and notes tied to specific roof areas. Don’t estimate repair costs from the number of visible marks; ask for a specialist’s written assessment and estimate.
Step 3: Check Flashing, Roof Openings, and Gutters
Flashing is the material that seals roof joints and openings. From the ground, look around chimneys, skylights, vents, and places where a roof meets a wall. You may spot metal that looks bent or rusty, a gap, or sealant that appears cracked or pulled away. These details can be hard to see from below, so record what you can and leave the close inspection to a professional.
Roof openings deserve a careful look because they interrupt the roof surface. A vent boot may look cracked, a skylight seal may appear worn, or chimney masonry may show cracks. These are clues to report, not a diagnosis. A qualified roofer can check whether the flashing is secure and whether a seal or roof part needs repair.
Look at the gutters and downspouts from the ground, too. Note gutters that appear loose or clogged, and check for piles of shingle granules. See whether downspouts seem to carry water away from the house. A blocked or loose gutter can affect drainage, while overflow marks may help explain water stains or erosion below the roof edge.
Roof valleys are another spot where leaves and other debris may gather. If you can see a buildup from the ground, take a photo and mention it during the inspection. Don’t use a ladder to clear it. Debris can hide damage, and a buyer’s walk-through isn’t the time to take a fall or disturb a roof surface.
For a specialist’s review, ask whether the report will address flashing at each opening, visible sealant, gutters, downspouts, and any areas the inspector couldn’t safely reach. A useful report should separate observed conditions from the next recommended check. If the specialist finds an active leak or loose flashing, ask what should happen before closing and what can be planned later.
By now, you should have noted visible concerns at roof openings and drainage points. The next step is to see whether the interior shows signs that water has made its way inside.
Step 4: Look Inside for Moisture and Roof-Related Clues
Check ceilings and walls for yellow or brown stains, peeling paint, bubbling drywall, or other signs of moisture. Notice any persistent musty smell, but don’t assume it came from the roof. Plumbing leaks and other sources can leave similar clues, so the location and inspection findings matter.
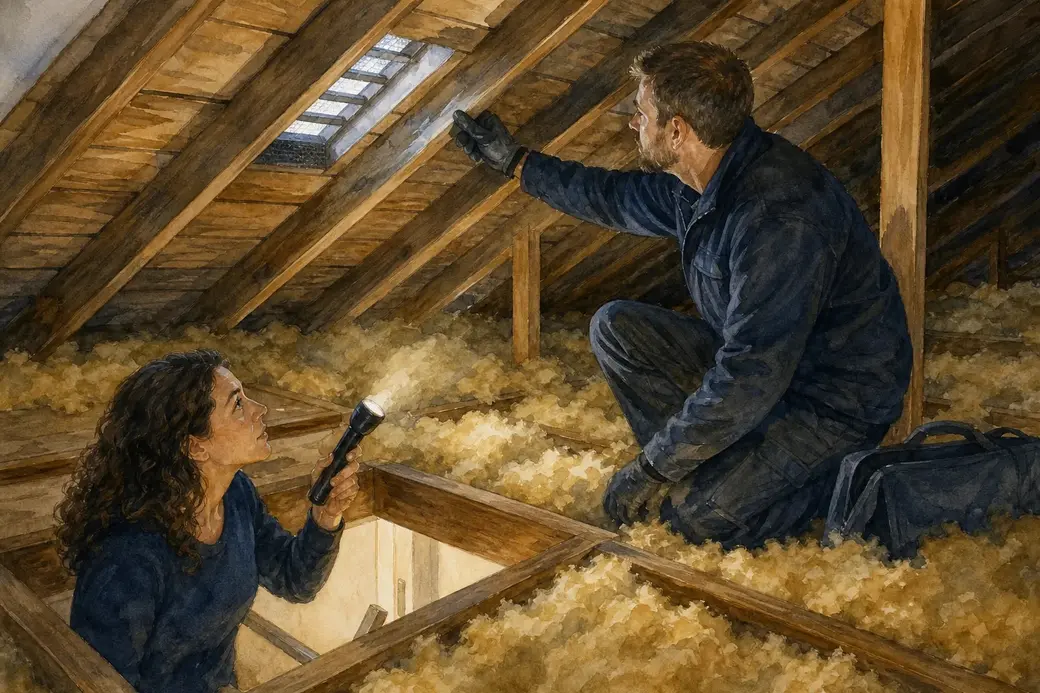
If the home has an accessible attic, ask whether you can view it during the showing or inspection. Look for dark stains, water tracks, damp spots, or daylight showing through roof boards. Check whether insulation looks wet or compressed. Don’t step on ceiling material or move stored items to reach a hidden area.
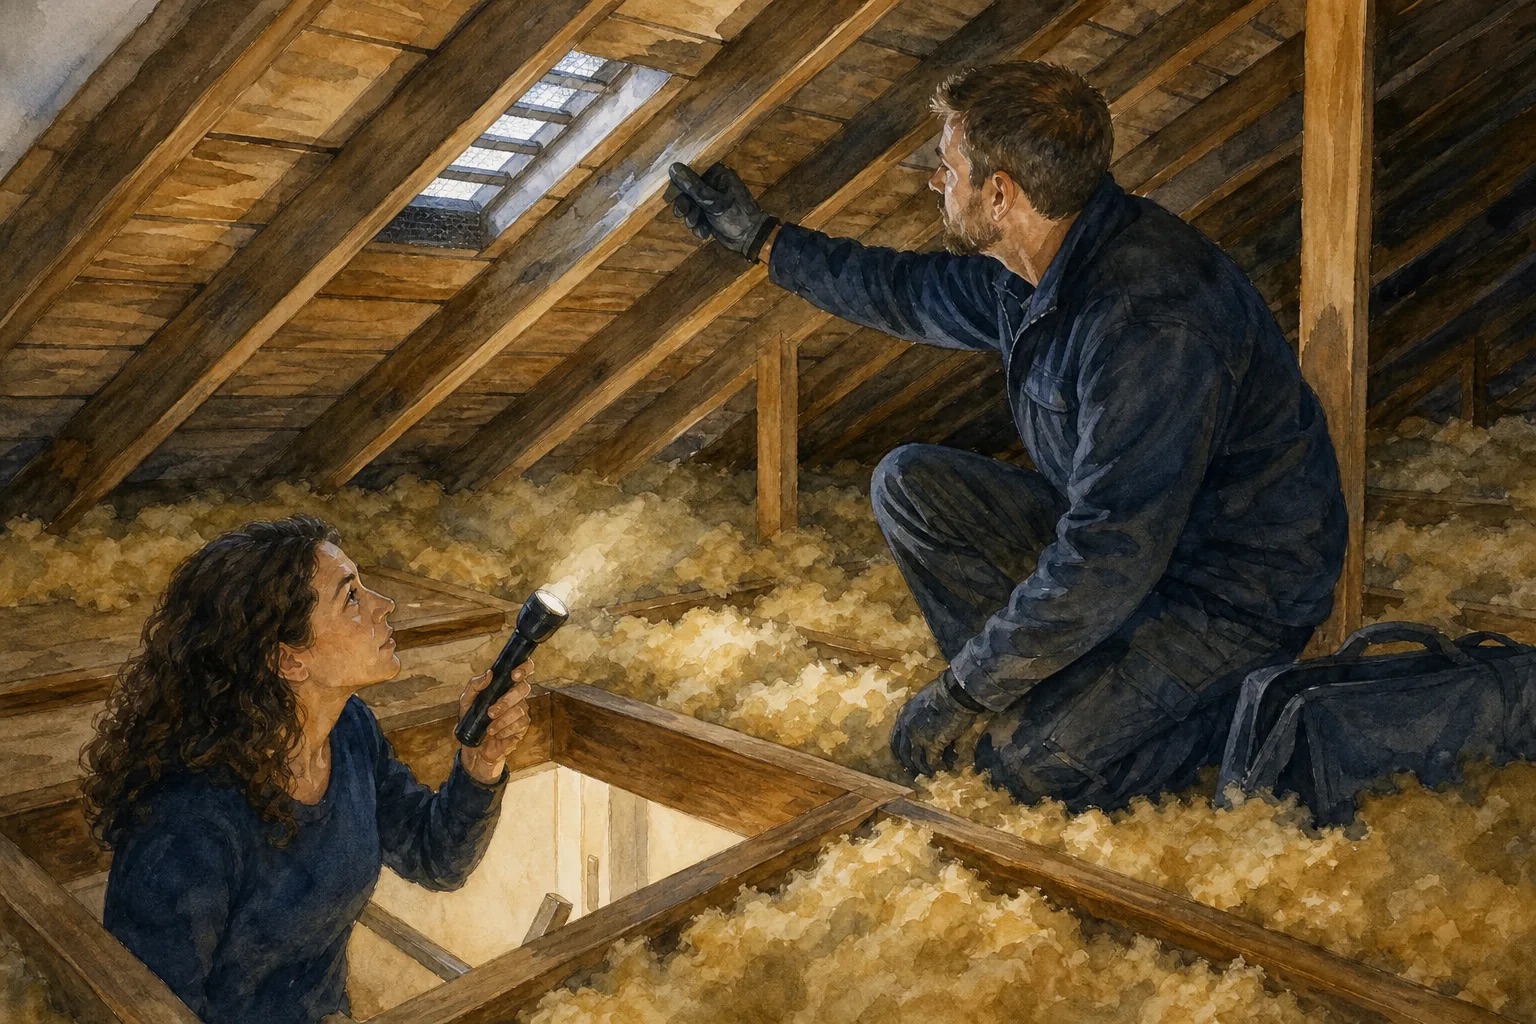
Roof decking is the wood beneath the roof covering. Dark patches or visible sagging from the attic can point to water entry or another issue that needs a closer check. Ventilation and insulation matter here, too: an inspector can assess whether the attic shows signs of trapped heat or moisture, and whether airflow and insulation need further review.
Compare what you see inside with your exterior notes. A ceiling stain below a roof opening, for example, is useful information to share with the inspector. It still doesn’t prove the opening caused the stain. Ask the specialist to trace the likely source and describe any limits in the inspection.
A general home inspection usually gives you a broad view of visible and accessible parts of the home. It may flag a roof concern without giving a roof-specific diagnosis. That’s distinct from an appraisal, which primarily addresses value and lender collateral risk, as I explain in my comparison of appraisals and home inspections. A dedicated roofing inspection focuses on the roof covering and related areas in greater detail.
By now, you should have a list of interior clues to compare with the roof’s visible condition. Share every stain or damp area with the inspector, even if it looks old or seems to have been painted over.
Step 5: Confirm Concerns With an Inspection and Use the Findings
Use your walk-through to decide what needs expert review, not to pass or fail the roof yourself. A general inspector can assess visible conditions across the house and may recommend a roofer for a closer look. A roof specialist can examine the roof in more detail, document findings, and explain which items need repair or further evaluation.
When you book an inspection, ask what the roof review includes. Confirm whether the inspector can safely access the roof and attic, whether the report includes photos, and what areas may be out of reach. You can also ask whether the inspection uses other tools, such as an infrared camera. Those tools may help document areas that are hard to view, but ask what they can and cannot confirm.
Request the seller’s roof records as well. Past invoices, permits, inspection reports, warranty papers, and claim or repair details can help fill in the timeline. Read warranty documents for the covered work, the term, any transfer process, and the steps needed to keep coverage in force. Ask the seller or warranty provider to confirm in writing whether the warranty can transfer to you.
A professional inspection is essential because a ground-level look can’t confirm what’s happening beneath shingles or flashing. A roof inspection can include checks for roof materials, flashing, gutters, attic moisture, and interior water signs.
There isn’t one standard repair-cost range that fits every roof. Ask the specialist for a written estimate that names the work and notes whether it’s a repair, a larger replacement, or a follow-up assessment. That gives you something more useful for budgeting than a guess based on a photo.
Roof findings may shape your purchase decision, your budget, or a request to the seller. You can ask about repairs or other terms, but the right next step depends on the contract, the condition, and the parties’ agreement. In Texas, keep your contract deadlines in view while you arrange follow-up checks.
A lender or insurer may also ask for more information about roof condition, depending on the property and their requirements. Ask them directly what they need. Don’t assume that a general inspection report settles an insurance or financing question.
As Robbie English, REALTOR, I help buyers sort inspection findings into clear next steps. Over the years I’ve intentionally built relationships with experienced inspectors and roofing professionals who consistently put clients first, and a collaborative team tends to mean better communication and fewer surprises. You’re free to choose any inspector or roofing professional you wish. I can help you understand how the findings fit into the purchase and the contract timeline, but the specialist should explain the roof itself.
By now, you should have a written report, supporting records, and estimates for any recommended work. Use those details to make a decision that fits your finances and comfort with the home’s condition.
Frequently Asked Questions
How can I tell how old a roof is?
Start with seller records, permits, invoices, and warranty paperwork. A date mark on a roof part may offer a clue, but it won’t confirm when the full roof was installed. If the records don’t settle the question, ask a roofing specialist to estimate the age and describe the visible condition. Treat that estimate as one part of your decision.
Should I get a roof inspection if the home inspector checked the roof?
Get a roof-specific inspection when the general inspector flags a concern or you need more detail before deciding. A general home inspection gives a broad look at visible home conditions. A roofing specialist can focus on the roof covering, flashing, openings, and other roof-related areas. Ask what each inspection covers so you know what remains unchecked.
Can I inspect the roof myself during a showing?
You can make a basic visual check from the ground, but don’t climb onto the roof. Photograph missing or curled shingles, visible dents, sagging lines, or loose-looking gutters. A ground-level view can miss hidden damage and can’t confirm the cause of a mark. Share your notes with a qualified inspector rather than trying to test or repair anything.
Can roof condition affect a mortgage or insurance decision?
It can lead a lender or insurer to ask for more information, but requirements depend on the home and the company reviewing it. Ask your lender and insurance provider what they need for this property. If either requests an evaluation or repair, get the request in writing and discuss the timing with your real estate professional.
What should I do if the roof inspection finds damage?
Ask the roofer to explain the issue, its scope, and the recommended next step in writing. Get an estimate for the stated work, then review the findings alongside your contract deadlines and budget. You can discuss repairs or other terms with the seller, but no single outcome is guaranteed. Make the decision based on the report and your purchase terms.
Conclusion
Start with records and a safe ground-level look, then bring in a roofing specialist when you spot a concern or need a clearer assessment. If you’re buying in Austin or Central Texas, I’m Robbie English, REALTOR, and I can help you fit the roof findings into your overall purchase decision. Your next step is to request the roof records and schedule any needed follow-up before your contract deadlines.
Robbie English, REALTOR, Broker at Uncommon Realty
Categories
- All Blogs (987)
- !!! (59)
- !x (621)
- Austin Real Estate (113)
- Bee Cave Real Estate (1)
- Building A Home (14)
- Buying A Home (150)
- Buying Land (1)
- Cedar Park Real Estate (58)
- Central Austin Real Estate (75)
- Down Payment Assistance Programs (1)
- Downsizing (4)
- Downtown Austin Real Estate (5)
- Dripping Springs Real Estate (62)
- East Austin Real Estate (3)
- Financing and Mortgage (24)
- first-time homebuying (109)
- Georgetown Real Estate (9)
- Hill Country Real Estate (1)
- HOA (3)
- Home Appraisals (13)
- Home For Rent (1)
- Home Inspections (9)
- Home Pricing (6)
- Home Staging (1)
- Home Values (12)
- Home Warranties (1)
- Homeownership (1)
- Homes For Rent (1)
- Homes For Sale (147)
- Hutto Real Estate (5)
- Insurance (1)
- Investing (6)
- Investment Properties (4)
- Lakeway Real Estate (33)
- Leander Real Estate (59)
- LGBT+ Real Estate (8)
- Luxury Homes For Sale (5)
- Luxury Real Estate (19)
- Market Conditions (17)
- Moving to Austin (2)
- Moving to Texas (4)
- Negotiations (3)
- Neighborhoods (8)
- Northwest Austin Real Estate (94)
- Off Market Listings (7)
- Pflugerville Real Estate (11)
- Private Listings (2)
- Property Management (42)
- Property Tax (5)
- Real Estate (18)
- Reddit Question Answered (80)
- redwrite (63)
- Relocation (2)
- Renting (6)
- Representation (34)
- Round Rock Real Estate (59)
- Selling Your Home (63)
- South Austin Real Estate (1)
- Westlake Real Estate (3)
Recent Posts