Austin Home Inspection Checklist: A Step-by-Step Guide

A small inspection note can point to a real safety issue, even when a home looks well kept. This Austin home inspection checklist will help you prepare, follow the inspection, and make a clear plan for what the report finds.
An analysis of 37 comments and questions from YouTube and Quora about home inspection in Austin found that 16% mentioned realtor pressure.
Step 1: Set Up the Inspection and Prepare the Property
Goal: Book the inspection early enough to leave room for questions, specialist visits, and decisions before your contract deadlines.
Once your offer is accepted, read the signed contract and mark every inspection-related deadline. The option period and its terms are negotiated, so don't rely on a standard number of days or assume that asking for repairs extends a deadline.
Schedule the general inspection as soon as you can. In Texas, licensed inspectors follow applicable standards. An inspection is still a visual review of accessible parts of the home. It can't promise that every hidden defect will be found. For reference, review the inspection standards and related standards.
Ask the inspector what the service includes before you book. Confirm how the report will arrive and whether any add-ons are part of the appointment. A general inspection doesn't automatically include a sewer camera, pool equipment review, septic evaluation, or lab testing. Those may need separate arrangements.
I'll often remind buyers that the inspection is a chance to learn how the house works, not a test the house must pass. My clients can attend the final part, when the inspector can walk them through key observations. If you can't be there, ask about a call or another way to review the findings.
If you're selling, make access easy. Clear stored items away from the electrical panel, water heater, attic hatch, HVAC equipment, and visible plumbing. Keep agreed utilities on, make sure appliances can be tested, and arrange for pets to be secured or away from the home. Trim plants that block equipment or access points, including septic lids where present.
Buyers can also use the time to arrange a contractor visit if they already know they'll want measurements or a quote for planned work. Don't ask a contractor to diagnose something outside their trade. First get the inspection findings, then invite the right specialist to assess a concern.
For a fuller picture of the typical systems in scope, I explain what a home inspection usually includes. With over 40 years of experience, I know the value of setting up a calm, clear process before the report arrives.
By now you should have: an inspection appointment, a clear access plan, and enough time set aside to review the report and follow up.
Step 2: Walk the Roof, Exterior, Yard, and Foundation
Goal: Understand how the outside of the property handles weather and water, and note visible signs that deserve a closer look.
Let the inspector handle the roof. Don't climb a ladder or walk on shingles yourself. The inspector may view the roof from a safe access point, from the ground, or with tools suited to the conditions. Ask what was visible and what could not be checked.
Look at the roof covering, flashing around openings, gutters, downspouts, soffits, and fascia. Deficiencies in flashing details and a starter-course tab that is not sealed material are reportable findings. A note about flashing doesn't tell you the full repair scope, though. If water entry or roof condition is a concern, ask for a roofer's assessment and written estimate.
Check the exterior walls and trim for gaps, damaged finishes, loose pieces, and signs of water entry. Weather stripping matters too. If daylight shows around a closed exterior door, the seal may not be meeting the door frame. Inspectors must report deficiencies in weather stripping, so treat this as a specific repair item rather than dismissing it as a cosmetic detail.
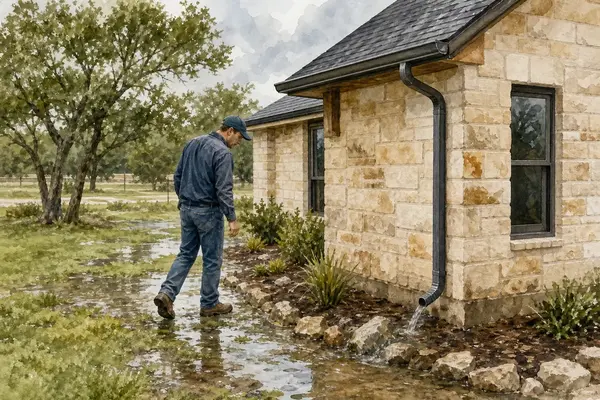
Then look at the yard. Note whether the ground appears to slope toward or away from the house. Check where gutters release water and whether downspouts drain close to the foundation. Ask the inspector about standing water, blocked drainage paths, or visible evidence of water penetration near exterior walls.
Austin-area buyers should pay attention to soil movement and moisture patterns. Much of Central Texas has clay soils that can swell when wet and shrink as they dry. That movement can put stress on foundations, but one crack alone doesn't diagnose a structural problem. Look for patterns and ask the inspector to explain what they see. If concerns line up, get a qualified foundation professional or structural engineer to assess them.
Walk the accessible parts of the lot and note trees or shrubs touching the house, overgrown landscaping, and vegetation blocking the HVAC unit or other equipment. If the home has irrigation, ask whether each zone can be run and observed. A sprinkler aimed at a wall or a persistently wet patch near the foundation is worth noting. You can also use these early signs of possible foundation concerns to keep your observations focused without trying to diagnose the structure yourself.
For a pool, septic system, or private water setup, confirm access and inspection scope ahead of time. A general home inspection may not cover every feature or piece of equipment. Make sure the right specialist can reach the areas they need to evaluate.
By now you should have: a record of visible exterior concerns, water paths, and any areas that need a specialist's opinion.
Step 3: Check Major Systems, Appliances, and Safety Items
Goal: Find out which major systems work during the inspection and which findings need a qualified trade professional.
For the electrical system, ask the inspector to explain the panel condition and any concerns about outlets, switches, visible wiring, or protective devices. Don't remove a panel cover yourself. A garage receptacle without GFCI protection is deficient and must be reported. Double-tapped grounded conductors are deficient and must be reported unless approved and listed by the manufacturer.
Test switches and outlets only as the inspector directs. Ask whether the home has working smoke alarms and carbon monoxide alarms, and where they're located. An inspector may identify a concern, but an electrician is the right person to diagnose wiring or panel repairs. Be especially careful with exposed wiring, a burning smell, repeated breaker trips, or a panel that feels hot. Treat those as matters for prompt professional review.
Look at the plumbing findings closely. Ask about active leaks, water stains, drain flow, visible pipe condition, and the water heater's installation. A standard inspection can't see inside every pipe or beneath finished surfaces. If a report raises a question about the underground sewer line, consider a separate camera scope before your contractual deadline.
Check the heating and cooling system through normal controls, when conditions allow. Ask the inspector to note whether it responds, where filters are located, and whether visible ductwork or condensate lines raise concerns. Austin's long cooling season makes the system's age and current performance useful budgeting details. A general inspection is not a full HVAC service visit, so follow up with a licensed HVAC contractor when the report points to a fault.
Have the inspector test included appliances using their normal controls. The review is about basic operation, not a full appliance service. If the seller is preparing, empty the dishwasher and make sure the oven and other included units can be reached and operated.
Some Austin properties have unusual utility setups or added systems. Confirm whether the home uses city water and sewer, a septic system, propane, or another arrangement. Ask who will inspect irrigation, pools, or detached equipment if those features are present.
My approach is to sort each finding by what it affects. An item that could cause injury or active water damage needs prompt attention. A system that works but shows age may call for a budget plan instead. A licensed trade professional can explain the cause and likely repair scope.
By now you should have: a list of systems that worked during testing, safety concerns to clarify, and any specialist referrals to schedule.
Step 4: Use a Room-by-Room Checklist and Request Specialized Checks
Goal: Review the details that can be easy to miss when you focus only on large systems.
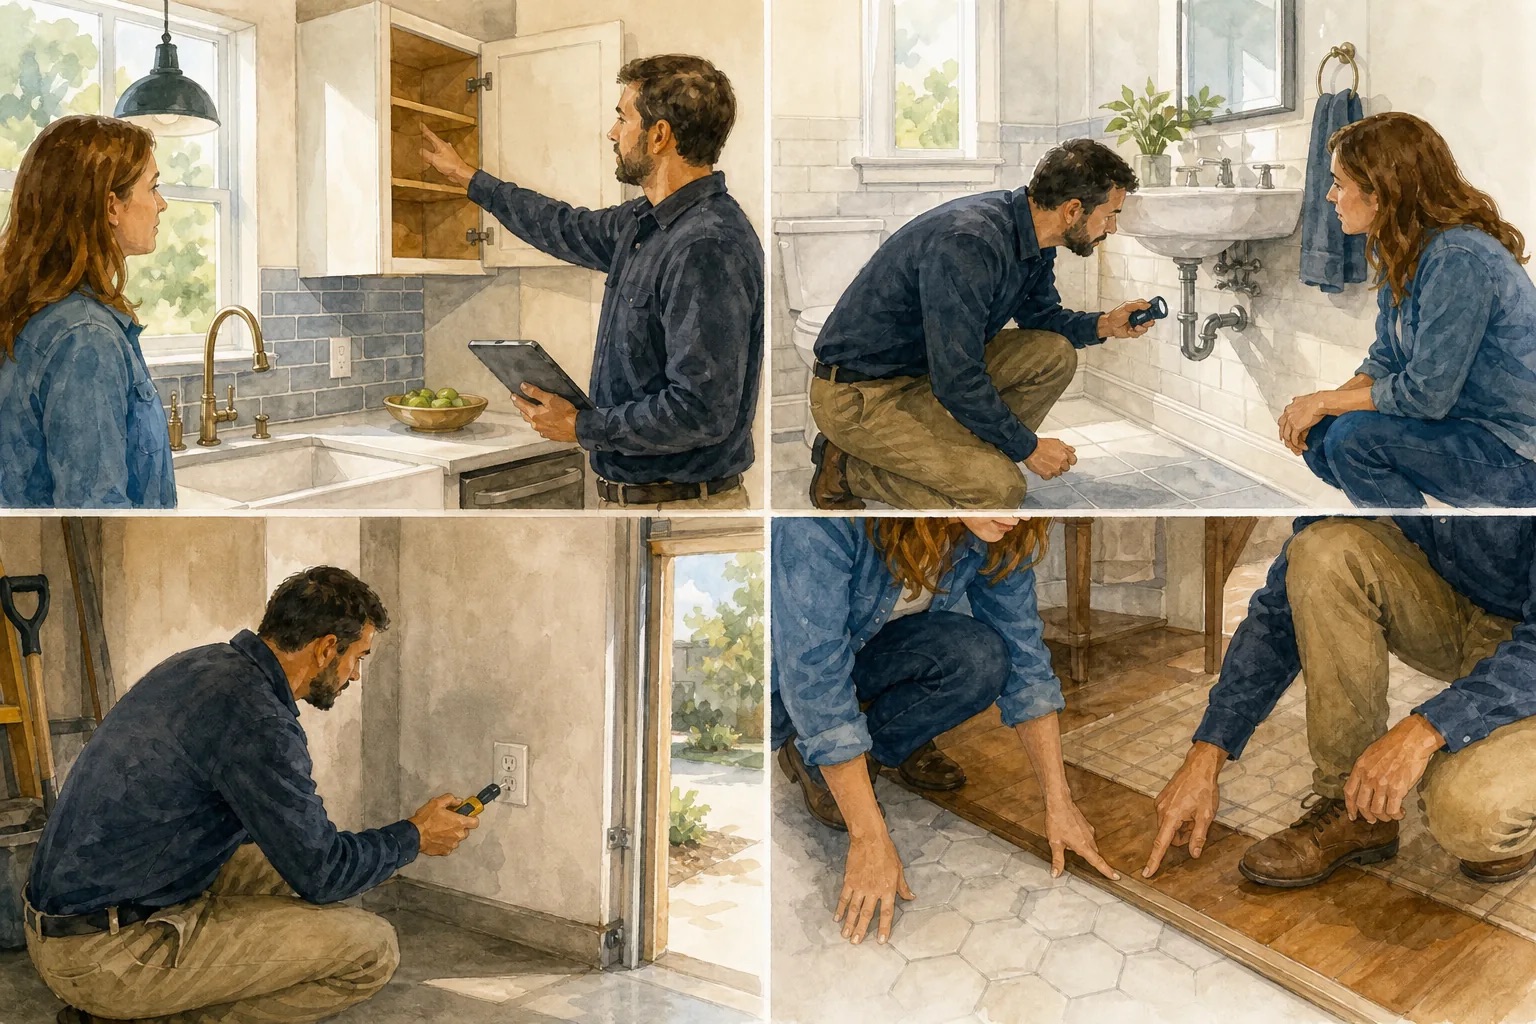
Walk through each room with the inspector, if you can. Use the list below to guide your questions. The inspector's formal report remains the record of observed conditions, and you shouldn't move furniture or test anything without permission.
Kitchen
Ask whether the range, oven, built-in microwave, and dishwasher were tested. Look beneath the sink for visible moisture or damaged cabinet surfaces. Open drawers and doors, then note if they stick, rub, or fail to latch. Check that flooring feels firm underfoot and that transitions to nearby rooms don't have a raised lip.
Bathrooms and laundry areas
Check faucets, toilets, tubs, and showers for basic function. Ask about slow drains, leaks below sinks, loose fixtures, or stains on nearby walls and ceilings. Look around the washing machine area for visible water damage. Ask whether the dryer vent route was visible, since lint can build up in a long or hidden run.
Living rooms and bedrooms
Open and close doors and windows as allowed. Notice a door that rubs or won't latch, a window that won't move, or a lock that doesn't work. Look at wall surfaces in natural light. Small dents, nail pops, drips, roller marks, or uneven texture may stand out more clearly in daylight than under ceiling lights.
Walk slowly across each floor. Notice loose planks, hollow-sounding spots, gaps at baseboards, or an abrupt height change between floor types. A small finish flaw differs from a loose section or a trip edge, so record its location and ask whether the inspector thinks it needs repair or a specialist's review.
Garage, attic, and any basement
In the garage, make sure stored items don't block the electrical panel, outlets, water heater, or access to equipment. Ask whether the garage receptacles have GFCI protection. In the attic, ask what the inspector could see about insulation, ventilation, roof framing, and visible moisture. Don't enter an attic or basement unless the inspector says access is safe.
A basement isn't part of every Austin home. If the property has one, ask about visible dampness, staining, odors, cracks, and the way water drains around its walls. The same rule applies to crawl spaces: the inspector should decide if access is safe and within scope.
Consider extra checks when the property or general report calls for them. A sewer camera can show conditions inside an underground line. A pool inspection can assess pool equipment. Buyers may also ask about termite or other wood-destroying insect activity, radon testing, or mold assessment. These aren't all part of every standard inspection, and testing methods differ. Ask what the specialist will test, what the result can tell you, and when the written finding will arrive.
Infrared cameras may help an inspector spot temperature patterns that deserve more review, but a thermal image alone doesn't prove a leak or mold. Ask how the inspector uses the tool and whether a licensed specialist should confirm the finding. You can also ask how photos or video are handled. Some inspectors use body cameras or other recording tools, but practices vary.
If you're buying new construction, make a separate list of incomplete work and finish concerns. A fresh paint job doesn't answer whether an appliance works or a floor transition is even. For a resale home, focus first on function and safety, then decide how to handle finish flaws within the contract.
By now you should have: notes by room, plus a clear list of any optional tests or specialist checks to order.
Step 5: Review the Report, Follow Up, and Prioritize Costs
Goal: Turn the report into a short, usable set of decisions rather than treating every note as equally urgent.
Start with the summary, but read the full report and open the photos. A photo can show the location of a concern, while the written note explains what the inspector observed. Check whether the report separates safety issues, major systems, and maintenance items. If the report uses different labels, read its definitions before sorting findings.
Remember that a long report isn't a repair bill. Inspectors document conditions they see, including small defects and maintenance needs. A term like deficient means the item needs attention under the applicable inspection standard. It doesn't automatically mean the home is unsafe or that the seller must fix it.
Make three working groups. Put immediate safety concerns and active leaks first. Put major systems or structural questions that need a specialist's view in the next group. Keep routine upkeep and cosmetic issues in a separate group. This is a way to organize your questions, not a substitute for the inspector's definitions or a contractor's diagnosis.
- Safety or active damage: Ask who can assess the concern promptly and what action is needed.
- System condition: Find out whether the system works now and what repair or replacement may involve.
- Maintenance or finish: Decide whether to address it before move-in or add it to a future upkeep list.
For each major item, write down the location, the report's exact observation, the question you need answered, and the person who can answer it. If a roof concern appears, ask a roofer to assess the roof. If the report flags a panel issue, ask an electrician. If foundation movement is a concern, seek an appropriate structural evaluation rather than guessing from a crack.
Ask for written estimates when repair costs could affect your decision. The general inspector may identify a concern but usually can't price specialized work from a visual visit. Don't use the cheapest estimate as proof that the issue is minor. Compare the scope: does each estimate address the same cause and repair?
Then compare the report with the seller's disclosures and any repair records. If the home has a prior repair, ask what work was done and whether there are invoices, permits, or transferable warranties. A mismatch is a reason to ask a clear question, not a reason to assume someone acted improperly.
When you want to learn which findings often need more attention in Austin, I cover common Austin inspection red flags. Review the findings in plain language, then identify the decision you need to make before a deadline. That's where Robbie English, REALTOR can help you keep the conversation grounded in the contract and the facts of the property.
Finally, set a repair budget that separates work needed now from future upkeep. Leave room for specialist findings, since an initial inspection may point to a question that needs more testing. Avoid treating a warranty or a seller credit as a replacement for understanding the condition and the coverage terms.
By now you should have: a prioritized list, any specialist opinions or estimates you need, and a clear sense of what remains before your contract deadline.
Step 6: Agree on Next Steps and Verify Before Closing
Goal: Make sure any decision about repairs, credits, or moving forward is documented and checked against your contract.
Once you understand the findings, decide what outcome you want to request. You might ask the seller to complete a repair, discuss a credit, propose another contract change, or accept the home's condition. The seller may agree, decline, or suggest a different solution. Neither side should assume that the inspection report itself requires a repair.
Talk through timing early. A contractor may need to inspect before giving a firm estimate, and work may take time to schedule. If your contract deadline is near, ask your agent to explain what notice or amendment is needed. A repair request does not automatically change a deadline.
Put any agreement in writing through the proper contract documents. State what work will be done and any related terms clearly. If a credit is proposed, have the lender and title professionals confirm that the terms fit the transaction. Don't rely on a verbal promise or a text message to define a repair obligation.
Ask for receipts, permits where applicable, and any warranty paperwork for completed work. The documents can help show what was done and by whom. If the repair concerns a system that needs a specialist to verify it, ask whether a follow-up inspection or written confirmation makes sense.
Keep your own file with the inspection report, specialist reports, estimates, repair agreements, and proof of completed work. If the seller provides records about an older repair, keep those with the rest of the property documents. That file will help you plan maintenance after closing.
Before closing, use the final walk-through to check the home's condition against the contract and any written repair agreement. Confirm agreed work appears complete. Test major systems with normal controls when possible, and check that included appliances and fixtures remain as agreed. If you see a change or an unfinished repair, raise it before signing so the right people can discuss the next step.
For sellers, the same process works in reverse. Keep records together, make the home accessible for agreed follow-up visits, and be clear about what has and hasn't been repaired. A factual answer is more useful than trying to make an older home sound new.
I want you to make the decision that fits your needs and the contract, not feel pushed by a long list of observations. At Robbie English, REALTOR, we can help clients understand the transaction steps and coordinate questions with the people involved. You are free to choose any inspector, contractor, or other provider you prefer.
By now you should have: written terms for any agreed work and a final walk-through plan that checks the home's condition before closing.
Frequently Asked Questions
What does a home inspection cover in Austin?
A standard inspection reviews visible, accessible parts of a home's major systems. That commonly includes the roof, structure, electrical and plumbing systems, heating and cooling, and certain appliances. The inspector follows Texas standards, but scope and access matter. A sewer camera, pool review, septic evaluation, or environmental test may need a separate appointment.
Should I attend the home inspection?
Yes, if you can, especially for the inspector's final review. You can ask what a finding means and where a shutoff or system is located. Don't interrupt the inspector's work or climb ladders. If you can't attend, ask whether the inspector can review key points by phone or another agreed method.
Does the inspection report tell the seller what to repair?
No, the report documents observed conditions; it doesn't by itself require the seller to make repairs. Your rights and deadlines depend on the signed contract. You can discuss repairs or other terms with the seller, but any agreement should be written into the proper contract documents before you rely on it.
What extra inspections should I consider in Austin?
Consider an added inspection when the home has a feature the general inspector doesn't fully assess or when the report points to a concern. Examples include a sewer scope, pool or septic review, termite inspection, or targeted evaluation of the roof, foundation, electrical system, or HVAC. Ask what each service covers and when the results will be ready.
What should I do if the inspection report is long?
Read the full report, then sort findings by safety, active damage, system condition, and routine upkeep. Ask the inspector to clarify terms you don't understand. Get a qualified specialist's opinion when the report recommends one, and request estimates for major work. A long report can include minor observations, so judge each item by its actual condition.
Conclusion
Use the inspection to learn how the home is performing, then follow up on findings that affect safety, water, or major systems. Mark your contract deadlines now and schedule any needed specialist checks promptly. If you'd like help understanding the transaction steps, Robbie English, REALTOR can talk through your questions with you.
Categories
- All Blogs (997)
- !!! (59)
- !x (621)
- Austin Real Estate (113)
- Bee Cave Real Estate (1)
- Building A Home (15)
- Buying A Home (154)
- Buying Land (1)
- Cedar Park Real Estate (58)
- Central Austin Real Estate (75)
- Down Payment Assistance Programs (1)
- Downsizing (4)
- Downtown Austin Real Estate (5)
- Dripping Springs Real Estate (62)
- East Austin Real Estate (3)
- Financing and Mortgage (24)
- first-time homebuying (110)
- Georgetown Real Estate (9)
- Hill Country Real Estate (1)
- HOA (3)
- Home Appraisals (13)
- Home For Rent (1)
- Home Inspections (13)
- Home Pricing (6)
- Home Staging (1)
- Home Values (12)
- Home Warranties (1)
- Homeownership (1)
- Homes For Rent (1)
- Homes For Sale (147)
- Hutto Real Estate (5)
- Insurance (1)
- Investing (6)
- Investment Properties (4)
- Lakeway Real Estate (33)
- Leander Real Estate (59)
- LGBT+ Real Estate (8)
- Luxury Homes For Sale (5)
- Luxury Real Estate (19)
- Market Conditions (17)
- Moving to Austin (2)
- Moving to Texas (4)
- Negotiations (3)
- Neighborhoods (8)
- Northwest Austin Real Estate (94)
- Off Market Listings (7)
- Pflugerville Real Estate (11)
- Private Listings (2)
- Property Management (42)
- Property Tax (5)
- Real Estate (18)
- Reddit Question Answered (80)
- redwrite (63)
- Relocation (2)
- Renting (6)
- Representation (35)
- Round Rock Real Estate (59)
- Selling Your Home (64)
- South Austin Real Estate (1)
- Westlake Real Estate (3)
Recent Posts